
Windows 11 has taken the digital world by storm with its sleek design and enhanced features. However, not everyone has the latest hardware to support it. This is where Tiny11 comes into play – a lightweight version of Windows 11 that caters to a wider range of computers, including older ones that Microsoft may have deemed incompatible.
What is Tiny11?
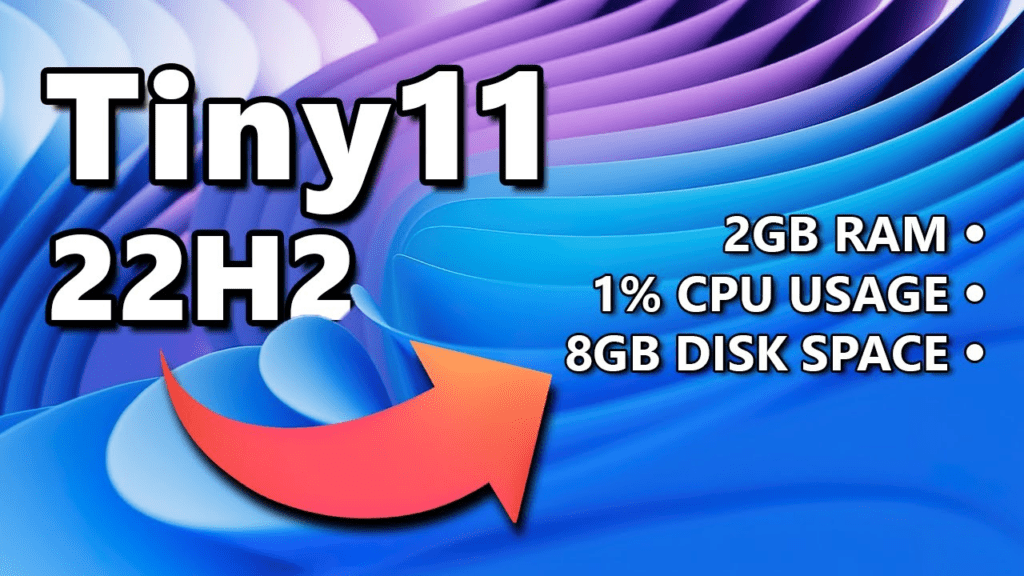
Tiny11 is an unofficial version of Windows 11 developed by the renowned NTDEV. It’s designed to be a more accessible alternative, especially for users with aging systems. By offering a trimmed-down Windows 11 experience, Tiny11 makes it possible to enjoy the benefits of the new operating system without the need for high-end hardware.
Minimal System Requirements
One of the standout features of Tiny11 is its minimal system requirements. Unlike the official version of Windows 11, which demands a minimum of 4 GB of RAM and 20 GB of storage, Tiny11 operates smoothly with just 2 GB of RAM and 8 GB of storage. Additionally, it doesn’t require Secure Boot or the TPM 2.0 chip, making it compatible with computers that may be several years old.
Installing Tiny11
Installing Tiny11 on your computer is a straightforward process. Here’s a step-by-step guide:
1. Create a Bootable USB Drive
To begin, download Rufus, a tool for creating bootable USB drives. Launch Rufus and connect a USB flash drive to your PC. Use Rufus to create a bootable USB drive.
2. Adjust BIOS Settings
Restart your PC and enter the BIOS settings. Change the boot order to prioritize booting from the USB drive.
3. Begin the Installation
Once you’ve successfully changed the boot order, restart your computer again. This time, the Windows 11 Tiny Edition setup will appear. Choose your preferred language, time format, and keyboard method.
4. Accept the License Terms
To proceed, you’ll need to accept the Microsoft Software license terms.
5. Choose Installation Location
Decide where you want to install Windows 11 Tiny Edition.
6. Installation Begins
The installation process will commence, and you can monitor its progress.
7. Set Up Tiny11
After the installation is complete, follow the on-screen instructions to set up Windows 11 Lite Edition to your preferences.
Embrace Windows 11’s Features
Tiny11 opens up the world of Windows 11 to a broader audience. Its lower system requirements mean that even older computers can benefit from the enhanced features and modern design of Windows 11. Experience the best of both worlds by installing Tiny11 and enjoying a smoother, more efficient computing experience.


Leave a Comment